
Trending In Appliances
Are you feeling like a broken record when it comes to dealing with common appliance problems? If so, don’t despair, help is here! This article will provide readers with an easy guide on how to troubleshoot those pesky appliance issues. We’ll take the mystery out of fixing your appliances and have them running smoothly in no time; after all, knowledge is power!
Faulty appliances can indeed be annoying to all of us. However, not knowing how to fix these faults can be even more disheartening. But never fear – this article will show you how easy it can be to diagnose and repair some of the most frequently encountered household appliance issues. By understanding what could potentially go wrong and having the right tools at hand, tackling any problem should be within reach.
By following our simple step-by-step instructions, you’ll soon have your home back in working order. So relax and get ready to join us as we explore ‘How To Troubleshoot Common Appliance Problems’. With just a few straightforward tips, you’ll be able to confidently overcome anything that comes your way!
Diagnose The Problem
When troubleshooting common problems, it’s important to know the issue. Diagnostic techniques vary from one appliance to another, but some general methods can help identify a problem. Common complaints include noises, power failure, and inadequate performance of the appliance in question.

To begin diagnosing,
Observe the problem closely.
- Carefully inspect all components for physical damage or defects;
- Test any switches by turning them off and on again and making sure they actually do something when engaged.
- If the complaint is about poor performance, make sure all settings are correct and functions are working properly.
Identifying the source of the issue is essential to find an effective solution. Once you have narrowed down what may be causing the problem with your appliance, transition into unplugging and plugging back in as the next step.
Unplug And Plug Back In
After diagnosing the problem, the next step is to unplug and plug back in all affected appliances. Unplugging devices from their power source and then plugging them back in can help reset any electrical malfunctions that may be occurring. This simple action could potentially solve the issue without having to delve further into troubleshooting processes.
Begin by unplugging each appliance one at a time,
- Take note of each cord or connection before doing so.
- Make sure to keep track of where they are connected when removing them from the wall outlet or power strip.
- Once every device has been unplugged, pause for several seconds before reconnecting each wire in its original position.
- Plug it tightly and securely back into its designated socket, and make sure that no pins are bent or broken during this process.
- Finally, check if the problem persists after completing these steps. If the malfunction still exists, additional measures should be taken such as cleaning and tightening connections for optimal performance.
Clean And Tighten Connections
For the most part, cleaning and tightening connections is an easy process.
- Begin by inspecting all wires for white or green corrosion on their terminals.
- If any are present, clean them with a wire brush until they become shiny again.
- Additionally, make sure that each terminal connection is tight; use pliers to tighten them if necessary.
- Next, use a damp cloth to wipe away dirt from around the wiring and terminals. This will ensure that there isn’t any debris interfering with the electrical connection between components.
- When you’re done cleaning and tightening connections, it’s important to inspect your work thoroughly before proceeding with other repairs.
- Check each of your connections to be sure they’re secure in place without loose parts or gaps between connected pieces.
- Also, double-check that all wires have been securely positioned back into the correct slots within their respective harnesses or plugs.
By taking these steps when troubleshooting appliance problems, you can prevent larger issues from arising down the line due to poor electrical contact between components. Moving forward, replacing fuses and circuit breakers may also help resolve underlying issues with your appliance’s performance.
Replace Fuses And Circuit Breakers
Replacing fuses and circuit breakers can help to troubleshoot a range of appliance issues. Different types of fuse are used for different appliances, so
- you must ensure that the correct type is installed.
- If it has blown or tripped, replace it with the same type of fuse as previously installed.
- Circuit breaker types vary too, some have individual switches for each outlet while others use one switch to control all outlets. It’s best practice to
- Turn off circuit breakers at the main panel before replacing any fuses or circuit breakers to avoid electric shock hazards.
- In cases where a breaker trips frequently, it may be necessary to upgrade your existing breaker with a higher-capacity unit. this will provide improved safety protection against overloads and short circuits.
Examining wiring and cables requires particular attention due to potential fire hazard risks posed by faulty insulation or exposed wires.
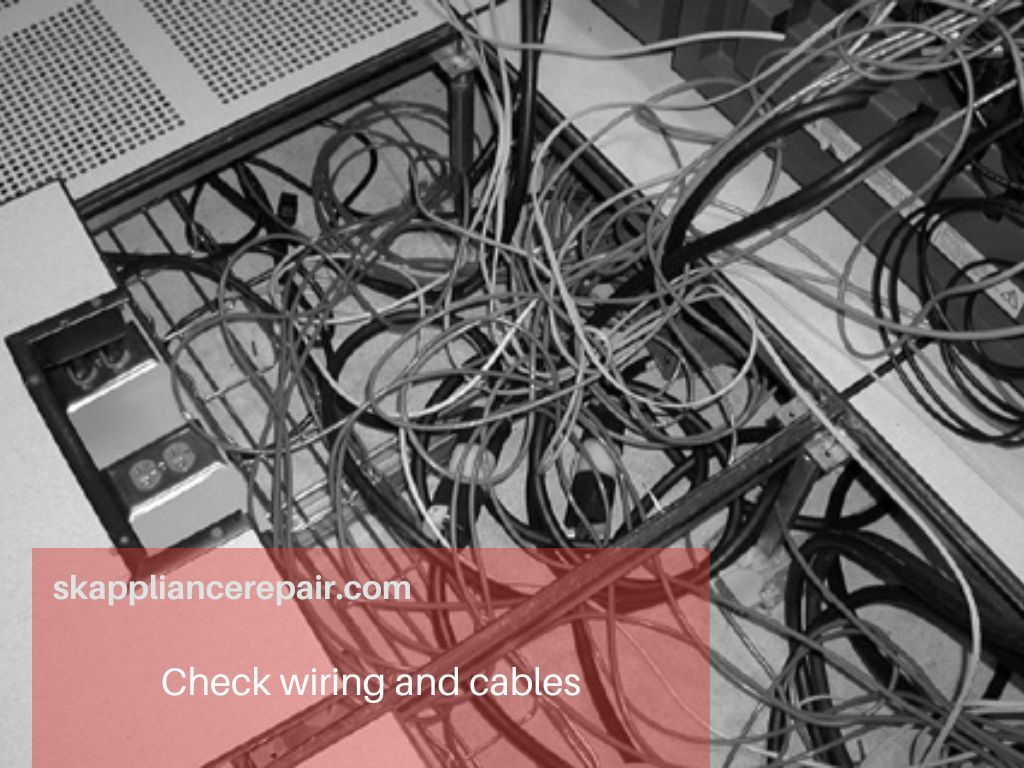
Examine Wiring And Cables
To follow up on replacing fuses and circuit breakers, it’s important to inspect the wiring and cables in your appliance. Taking a closer look at these electrical components can help you identify any potential issues before they become major problems.
- First off, check all of your power cables for signs of damage or corrosion. Look for any cracks or frayed wires that could be causing an issue with your appliance. If there are any visible issues, replace them immediately. Additionally, make sure each cable is properly connected to its respective port, loose connections can also lead to power outages or other malfunctions.
- Next, take some time to examine the electrical wiring within your appliance. Inspect the insulation around each wire and check for any exposed copper strands which can cause short circuits if not addressed quickly. It’s also essential to verify that no two wires are touching one another as this may result in overheating and dangerous situations.
So far we’ve looked at how to replace fuses and circuit breakers as well as examining wiring and cables – now let’s move on to testing electrical outlets for safety purposes.
Test Electrical Outlets
To do it correctly, you’ll need to have the right tools and techniques. Here’s what you should do:
- Use a voltage measurement device such as a multimeter or circuit tester to check for proper voltage output at each outlet.
- Check all wiring connections between the wall socket and your appliance to ensure they are secure.
- Inspect the wall socket itself for any damage that may be preventing power from getting through.
- Look for frayed wires or exposed copper, which can cause short circuits.
If everything appears normal after testing the electrical outlets with these steps, then it’s time to move on to other potential sources of trouble like checking for an obstructed ventilation system.
Check For An Obstructed Ventilation System
You should check for an obstructed ventilation system. An obstruction can cause inadequate airflow and lead to potential damage to the appliance or even a fire hazard. To ensure proper ventilation, one should inspect both the intake and exhaust of the appliance.
Below are some tips on how to identify if there is an obstruction within your ventilation system:
- Blocked air filter
- Visible debris
- Outside vent closed
- Cluttered area
- Dust buildup
- Ductwork clogged
- Insects/rodents
- Foreign objects
- No visible signs of airflow
If you notice any of these signs in either the intake or exhaust of your appliance’s ventilation system, be sure to clean out all obstructions that may impede adequate airflow. This will help keep the appliance running optimally and prevent potential hazards from occurring due to insufficient cooling or heating caused by restricted ventilation.
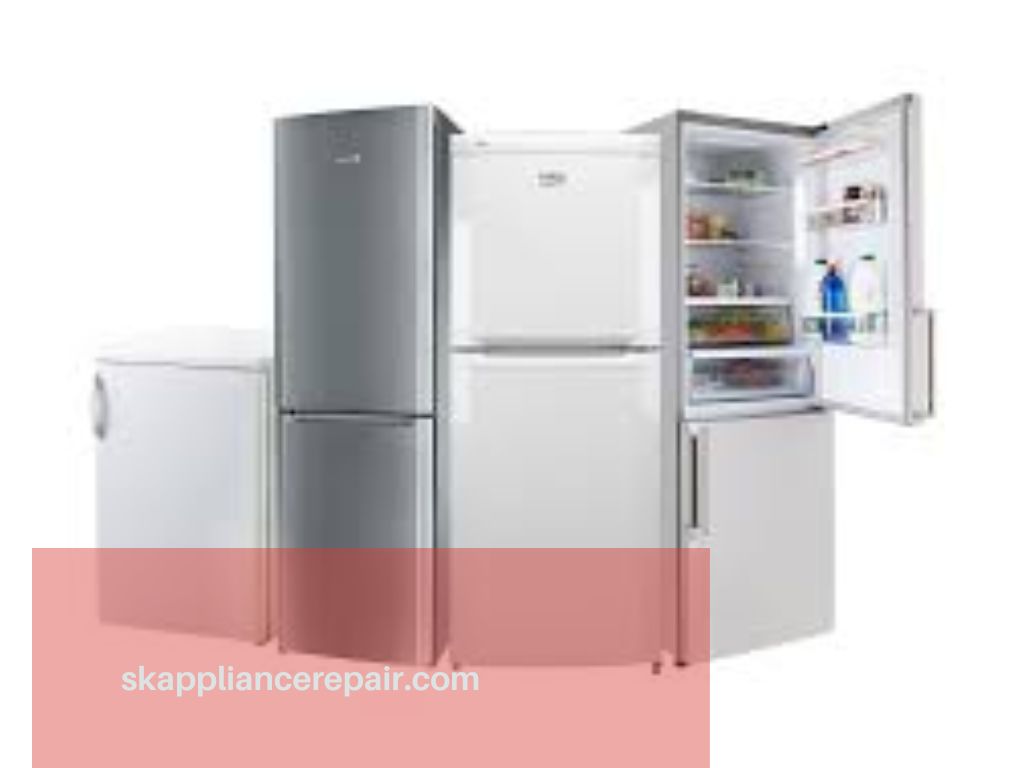 refrigerator repair Washington dc
Refrigerator Issues Such As Leaks Or Defrosting
When it comes to refrigerator issues, leaks, and defrosting can be among the most common problems. Frustratingly frequent fridge failures can quickly become a hassle for homeowners. Fortunately, there are several steps that one can take to troubleshoot these appliance leaks or defrosting issues.
- First, check if the door seals are properly closing. Over time, gaskets and seals may wear out due to natural deterioration from everyday use. If the gasket around your refrigerator is not sealing correctly when the door is shut, cold air might escape out of the unit leading to temperature fluctuations in the fridge and freezer compartments resulting in insufficient cooling temperatures as well as water accumulations on shelves or floors caused by condensation buildup inside of your fridge. Inspect all components of the seal for any signs of damage such as rips or tears, then replace them with new parts if necessary.
- Next up is inspecting and cleaning the drain pan under your refrigerator. The main purpose of this component is to collect excess moisture generated through condensation during normal operation cycles which should eventually exit via a drainage tube connected to an external drain outlet line outside your house. Cleaning this part regularly prevents potential clogging incidents that could lead to serious flooding scenarios within your home, especially during periods of heavy rainfalls since oftentimes blocked drains will overflow spilling water onto nearby surfaces and wreaking havoc inside homes across America! To prevent this issue from happening make sure to clean out debris caught in both internal/external drain outlets at least twice a year otherwise costly repairs would likely follow shortly afterward!
- Finally, examine all hoses running between your wall connection box and back panel of the refrigerator for obvious signs of malfunction like kinks or bends causing possible blockages along their length potentially restricting airflow within the system thus leading to reduced cooling performance regardless of how much energy efficiency those new fridges claim themselves being nowadays! Also, look for any visible holes or cracks where refrigerant gas might be leaking out further exacerbating the already existing problem even further so make sure everything looks secure.
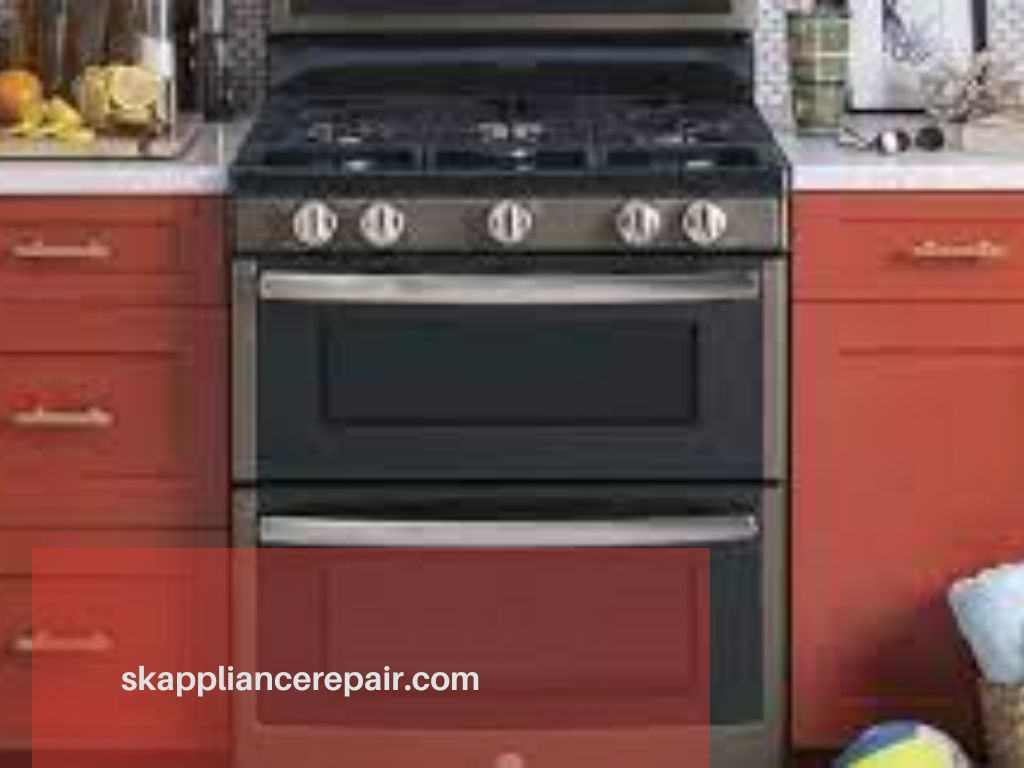 oven and stove repair Washington dc
Oven Problems Such As Heating Inaccuracies Or Ignition Malfunctions
Oven problems such as heating inaccuracies or ignition malfunctions can be a challenge to troubleshoot. If you suspect any oven malfunction
- the first step is to check the connection between the unit and its power source.
- Ensure that all the connections are tight and properly secured.
- It’s also important to inspect for signs of wear in electrical cords and plugs, especially if they’re damaged or frayed.
- In addition, make sure there’s no buildup of dirt or debris on components like burners and gas jets. Cleaning these parts regularly can help prevent oven malfunctions from occurring in the first place.
- Finally, it’s best to contact a professional oven repair technician if your attempts at fixing an oven heating inaccuracy fail. They will have specialized tools and experience to identify issues quickly and effectively so you can get back to using your oven safely again.
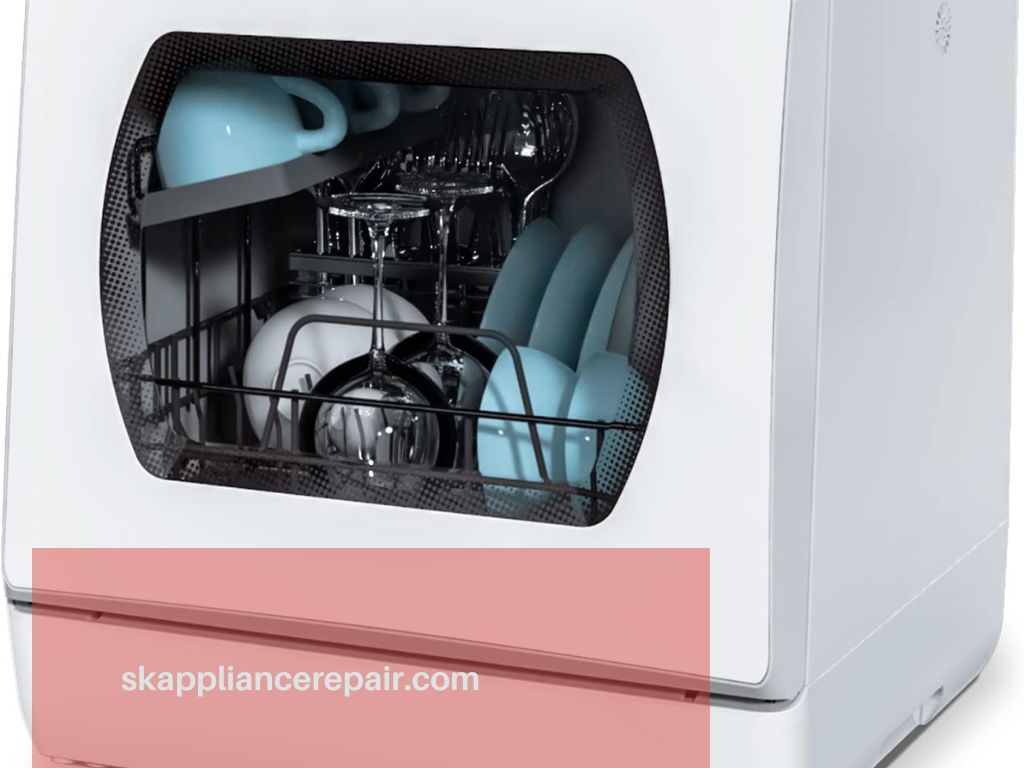
Dishwasher Problems Such As Poor Drainage Or Unusual Noises
Dishwashers are a great convenience, but when they malfunction it can be very annoying. To make matters worse, figuring out what’s causing the problem and how to fix it can seem like an uphill battle – similar to climbing Mt. Everest! That said, by following some basic troubleshooting steps you can usually figure out what is going on with your dishwasher. With that in mind, let’s get started:
- First, if you notice poor drainage or unusual noises coming from your dishwasher then one of the first things to check for is improper maintenance. Is there any visible food debris clogging up the drain line? Has the filter been cleaned recently? These should be checked regularly as part of regular maintenance as dirty filters can lead to back-ups and other issues.
- Next, take a look at whether anything has changed with your water pressure lately. If so this could be causing slow draining or other problems with your machine’s performance. Check all connections leading into the unit and inspect them carefully for signs of damage or wear & tear. Additionally, listen closely for any strange sounds during operation and pay attention to where they appear to be originating from within the appliance itself – this can provide clues as to what might need fixing or replacing inside your dishwasher.
- Finally, keep in mind that sometimes even after doing all these checks something may still not seem quite right with your machine. In such cases, it often pays off in time saved (and headaches avoided!) to call in a professional dishwasher repair technician who knows their way around complex kitchen appliances like dishwashers. They will have access to special tools and equipment that are not generally available for DIYers and will likely find whatever issue needs solving much more quickly than trying to do it yourself without prior experience working on these types of machines. With that being said, let’s move on to washing machine issues such as overfilling or extended cycles…
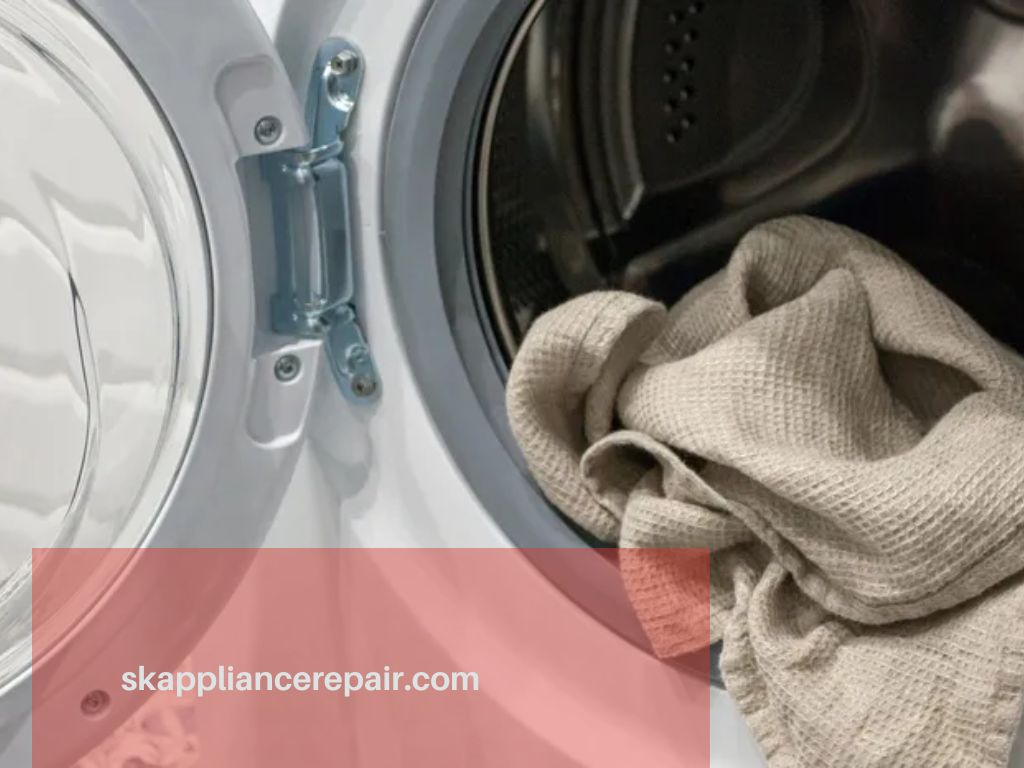
Washing Machine Issues Such As Overfilling Or Extended Cycles
When troubleshooting washing machine issues, it’s important to understand the common problems that can arise. Washing machines may overfill or have extended cycles which could be indicative of a larger issue.
- To begin the process of washing machine troubleshooting and maintenance, it’s best to start with an inspection of all water hoses and connections. Make sure they are securely connected and not leaking. If there is any sign of damage, replace them as soon as possible.
- Next, check your washer’s settings to ensure nothing has been changed unintentionally. This includes checking spin cycle speeds and water levels for each load size. It’s also advisable to clean out the detergent drawer periodically; this will help reduce residue buildup in the system that can cause excessive sudsing during a wash cycle. Lastly, pay attention to sounds coming from your washer during operation; unusual noises such as grinding or thumping might indicate worn-out parts that need replacing.
- These steps should help you address most problems related to overfilling or extended cycles, but if repairs become necessary consult a qualified technician who specializes in washing machine repair services. Moving on, let’s take a look at dryer problems such as too much heat or not enough heat.
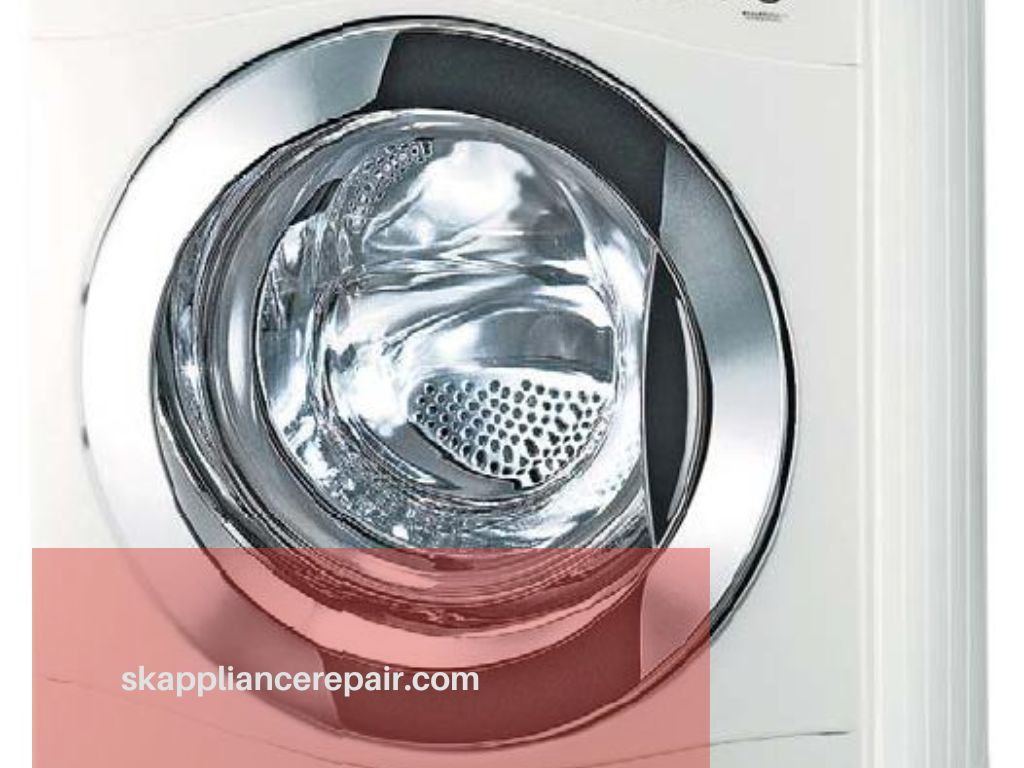 washing machine repair Washington DC
Dryer Problems Such As Too Much Heat Or Not Enough Heat
“A stitch in time saves nine,” and this is certainly true when it comes to appliance problems. Dryers that produce too much or not enough heat may be a sign of an underlying issue. To pinpoint the cause, start by running through some simple troubleshooting steps.
- First, check your dryer’s lint trap for any blockage. If there are clumps of fabric softener sheets stuck inside, remove them as they can prevent air from circulating properly. This can lead to overheating or insufficient heating which will affect how long it takes for your clothes to dry. Additionally, make sure the vent hose isn’t blocked with lint build-up; cleaned vents ensure optimal airflow and help reduce energy costs while also reducing the chance of a fire hazard.
- Next, inspect the thermostat located on the blower wheel housing and replace it if necessary. A malfunctioning thermostat won’t accurately measure temperatures causing too much or not enough heat during operation. Professional technicians use specialized tools to test components such as thermistors, coils, and other parts within the heater system to determine whether replacement is needed.
With these tips, you should have a better idea of what might be wrong with your dryer but sometimes more involved issues require professional assistance so don’t hesitate to contact SK technicians if all else fails!
Troubleshooting With A Professional Technician
When a dryer is not providing enough or too much heat, it can be difficult to determine the root cause of the issue. If a homeowner has exhausted all DIY troubleshooting and repair methods, then they may need to bring in a professional technician for additional assistance. A troubleshooting technician will be able to diagnose more complicated issues that are beyond what an individual could fix on their own.
A professional technician can also provide preventative maintenance services so that homeowners can take proactive steps toward keeping their appliances functioning properly over time. An annual inspection by a qualified technician should identify any potential problems before they become serious enough to require repairs or replacement parts. This type of service helps keep costs down and ensures that the appliance continues working correctly throughout its lifecycle.
In addition to hiring a professional technician, there are plenty of online resources available to help people identify common appliance issues and learn how to address them without calling in outside help. Online forums, instructional videos, and product manuals are just some of the ways individuals can gain insight into possible solutions for their home’s broken appliances. With this information, many people find success with do-it-yourself repairs or preventive maintenance measures such as replacing worn-out parts or cleaning clogged filters. Utilizing these online resources can save money while helping maintain the life span of one’s household appliances.
By using a combination of personal research via online resources and enlisting the services of a qualified professional technician when needed, homeowners should have no trouble resolving most appliance issues quickly and effectively.
Using Online Resources To Identify Appliance Issues
Completing online appliance troubleshooting can be an effective way to identify and diagnose appliance issues. There are many repair resources available to help you determine the cause of a malfunctioning appliance. You can utilize these resources to find appliance troubleshooting guides that provide step-by-step instructions for resolving common problems. Additionally, there are websites with forums where users post topics about their own experiences with certain appliances, providing helpful tips and advice on how to fix them.
When attempting to resolve an issue yourself, it’s important to carefully follow the instructions provided by these online resources. This will ensure that your attempts at solving the problem do not further damage the appliance or put you in danger. Taking time to read reviews from other customers is also beneficial when researching potential solutions as they may provide valuable insights into what worked or didn’t work for similar situations.
By utilizing online appliance troubleshooting resources, you can gain access to quality information that can help you accurately identify and address any problems with your appliances quickly and safely. With this knowledge, you’ll be able to make informed decisions regarding whether repairs should be attempted or if professional assistance is necessary.
Preventative Maintenance Tips
It’s also essential to inspect all parts of an appliance before use.
- Make sure there aren’t any loose wires or exposed electrical outlets that could be dangerous.
- Pay attention to how your appliance runs during normal operation;
- if something seems off, don’t hesitate to call a professional technician for assistance.
- Lastly, always follow instructions from the manufacturer regarding the proper use and cleaning of major appliances. Doing so will ensure their longevity and improve performance over time.
By following these basic preventative tips, you can easily maintain the life of your appliances and minimize the need for emergency repairs down the road. Regularly checking up on them will save you money in the long run — not just with repair costs but also with energy savings!
Conclusion
In conclusion, you should be aware of common appliance problems and how to troubleshoot them. Taking preventative maintenance steps is key to keeping appliances running smoothly and avoiding more costly repairs down the road. For example, my washing machine broke after I neglected to clean out lint from the filter for a few weeks. After examining the problem myself, I determined that cleaning out the filter had fixed the issue. If you’re still unsure what’s wrong with your appliance, don’t hesitate to call our professional technicians or use online resources for assistance. With these tips in mind, you can take charge of any appliance issues head-on!